

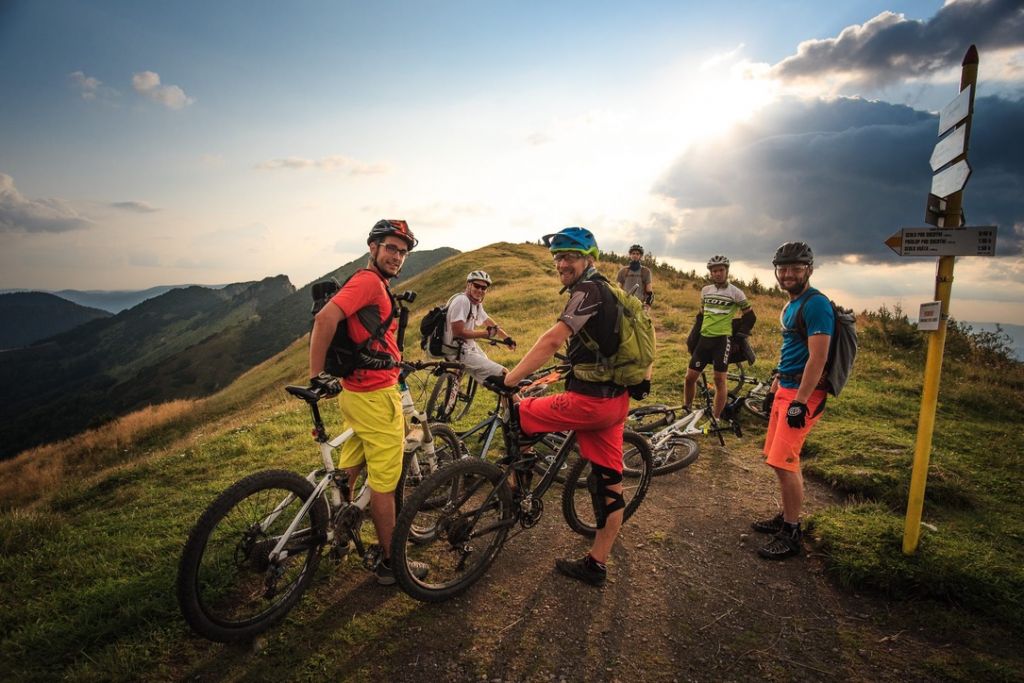
If you're are just getting started with mountain biking you might be wondering what trails are right for you, and where to find them. Or maybe you'd like to take a friend or significant other that's just getting started for their first ride. I was recently wondering the same, so I've put together a guide to find mountain biking trails for beginners.
I did some research and it turns out that there are already plenty of online and offline resources to find great trails for beginners. There are apps, websites as well as local riding groups that can help you out. Let's look at what a trail for beginners looks like and where to find it.
What is a good beginner trail?
A beginner trail should be a trail that will introduce the rider to the thrills of mountain biking but won't scare them off. This makes it a bit challenging to find them. Thankfully a lot of trails are color-coded, either right on the trail head, on maps or in apps that we will discuss bellow.
Look for trail color coding
A lot of trails are marked with pretty standardized color coding: Green, Blue, Red, and Black. We'll cover Green and Blue trails, as these are best suited for beginners.
Green trails
Beginner trails are usually marked Green. They tend to be flatter and stay clear of steeper climbs or descends. You won't find any sudden changes in the terrain, or trail features like drops, rock gardens, roll-downs etc.
In maintained trail networks, these trails are usually the intro trails, that lead to more sophisticated ones. The good think about this is, you won't end up on a Black trail without a way back.
Blue trails
Blue trails are the next level and they are a little more challenging in terms of technique and skills, but usually should be fine for a beginner that has some prior cycling experience.
Using apps to find beginner trails
There's a long list of apps that rely on local riders to mark and rate trails and have good coverage around the world. So you are very likely to find beginner trails. The most popular ones are listed bellow.
TrailForks
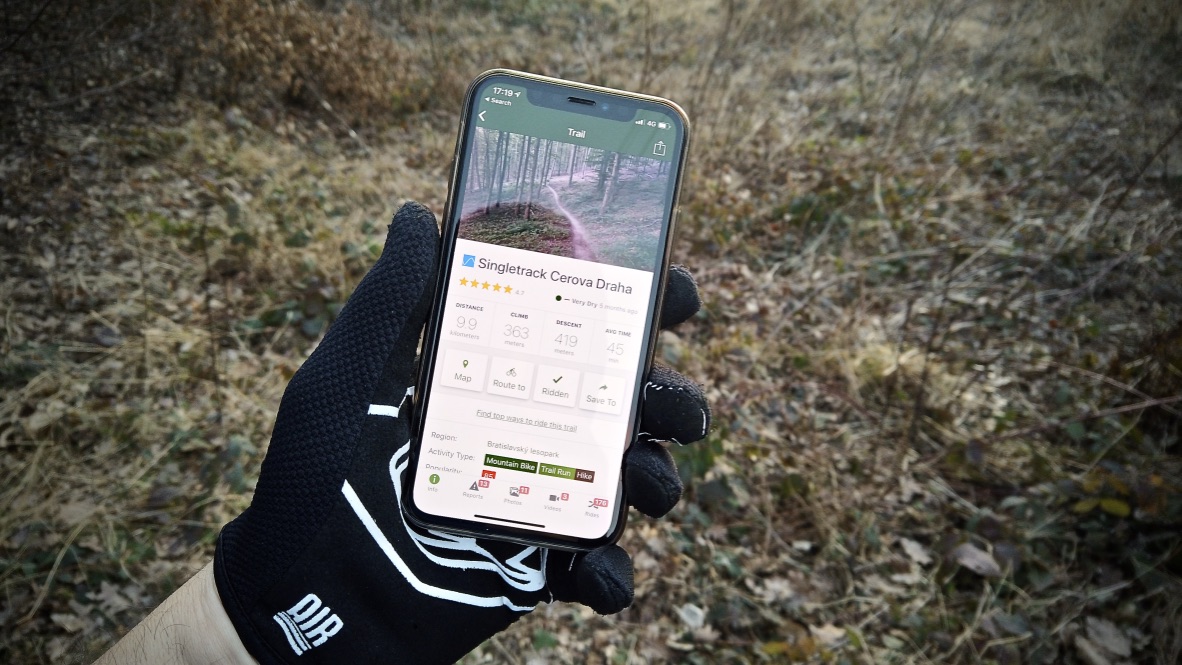
TrailForks is my personal favorite. It has a lot of local trails and offers free topographic maps, so you will be able to check how challenging the climbs and descends will be. All trails are color-coded, following the system described earlier. It also has a detailed description of the trail, with a graph showing the trail profile. The content is user-generated and a lot of trails include pictures, videos as well as reports on trail conditions and incidents (such as a fallen tree).
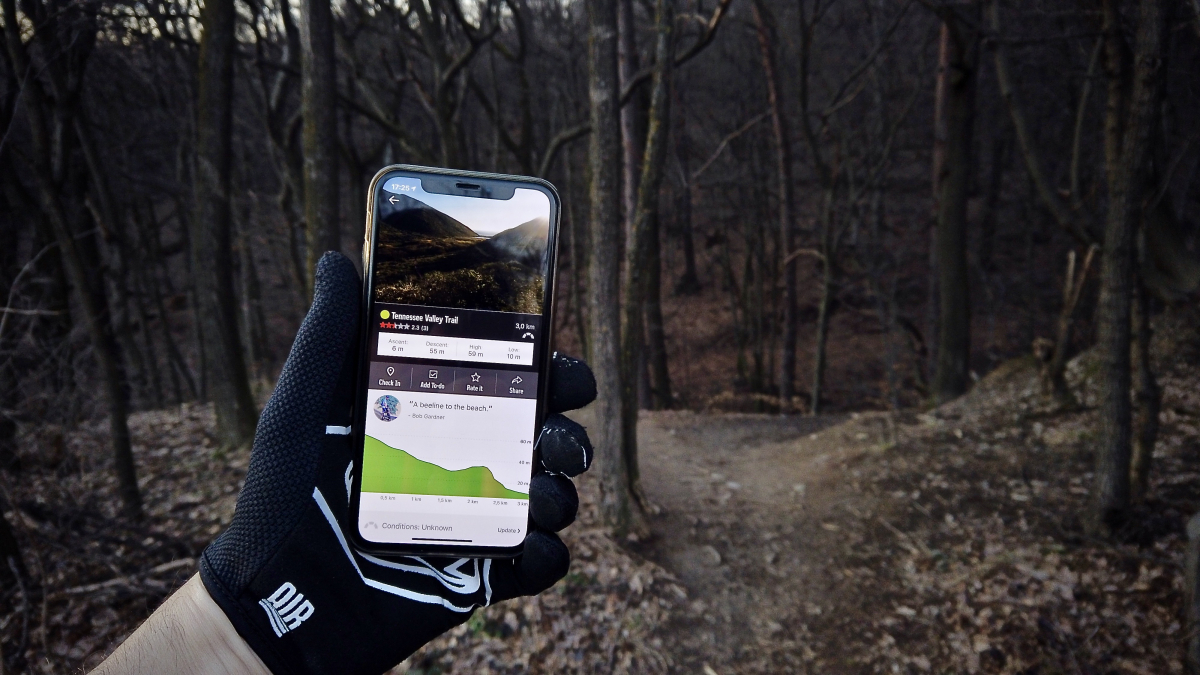
MTB Project
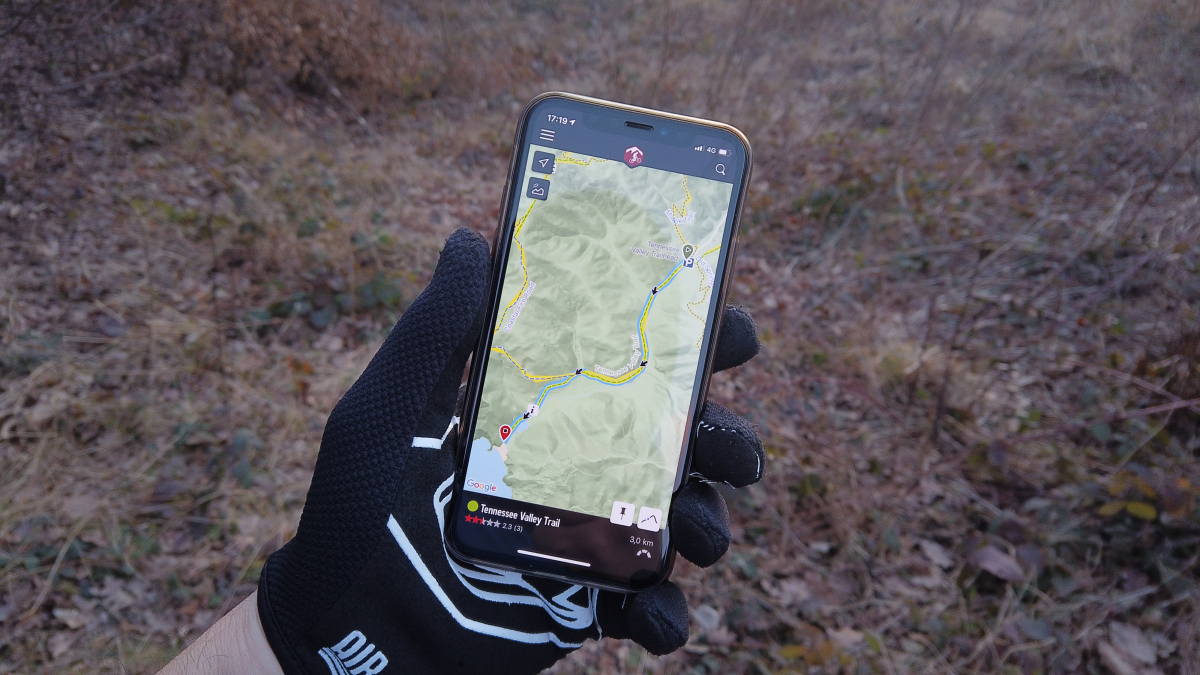
MTB Project is another great app, that has a lot of trails. North America seems to be better covered than Europe and other parts of the world. Trails are well described, color-coded, with topographic maps and pictures to get a good idea of what you will be riding.
Singletracks
The Singletracks app is another option you can look at, but it gets minus points for a very poor user interface and for the fact that topographic maps are a paid extra. It is hard to justify the purchase, even at $3.99 with all the other great free options out there.
Strava
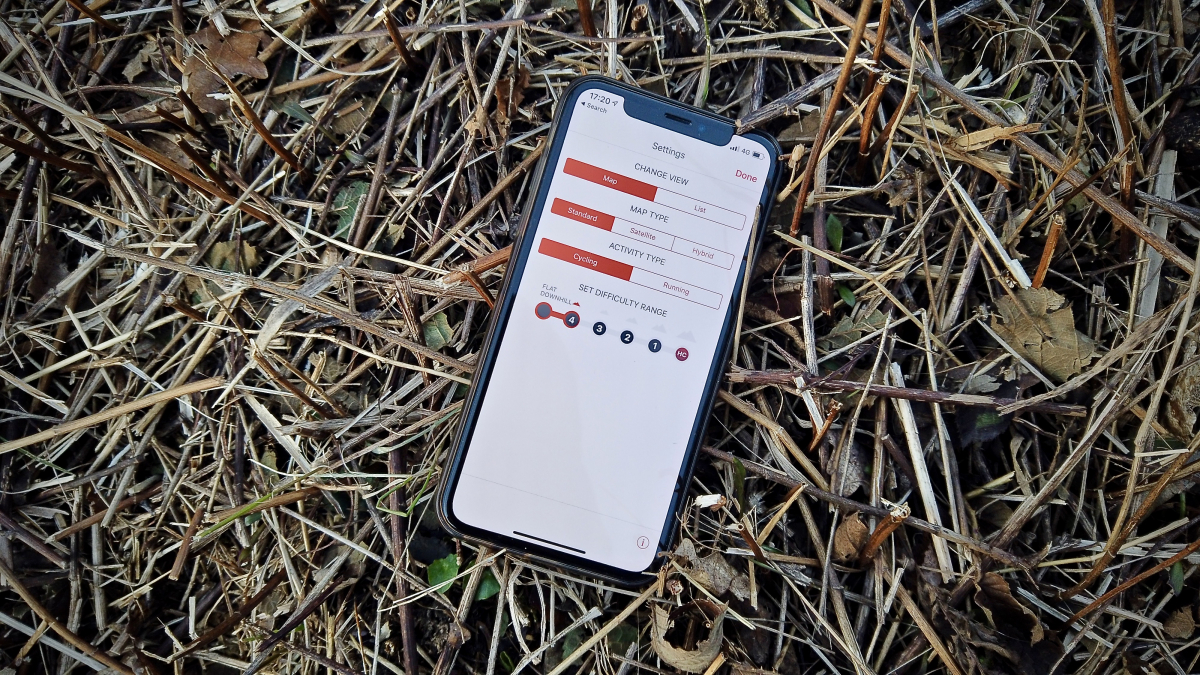
The last app to be mentioned here is the very popular fitness tracking app Strava. This is not a mountain biking app per se, but it has a very useful feature called Segment Explorer. Just go to the More section in the bottom menu, click on Segment Explorer and tap on the filter icon next to the search input. Here you can select Cycling and the Difficulty Range. Picking the first and second option will give you good beginner trails to look at.
Ask a local
Local riders are a great source of trail recommendations and they will also give you an honest account of what to expect. Looking for local mountain biking groups on Facebook is a good start.
Local trails are usually maintained by small non-profits and contacting them is also a great way to find out about trails. Plus you will make new friends that can teach you a lot about riding. Ask them if you can help out with maintaining or building their trails. Trail building is an awesome way to learn about the mechanics of riding.
Go to a bike park
If you are fortunate enough to live close to a bike park, this is another option you can consider. I recommend to research the bike park before your visit. Go to their website and look at the trails they offer. A lot of parks will be for advanced riders only, so keep those for later. If you are unsure, give them a phone call and ask them about options for beginners.
Look around on YouTube
A lot of riders will post videos of their rides on YouTube. This is a great resource to find out more about the trails you found on trail apps or someone recommended you. Or you can just search for the name of your area and a keyword like "mtb" or "riding". This will give you a good sense of the general terrain and difficulty of trails.
How to prepare for your ride?
Ok, so you found a trail you like. What now?
Come prepared
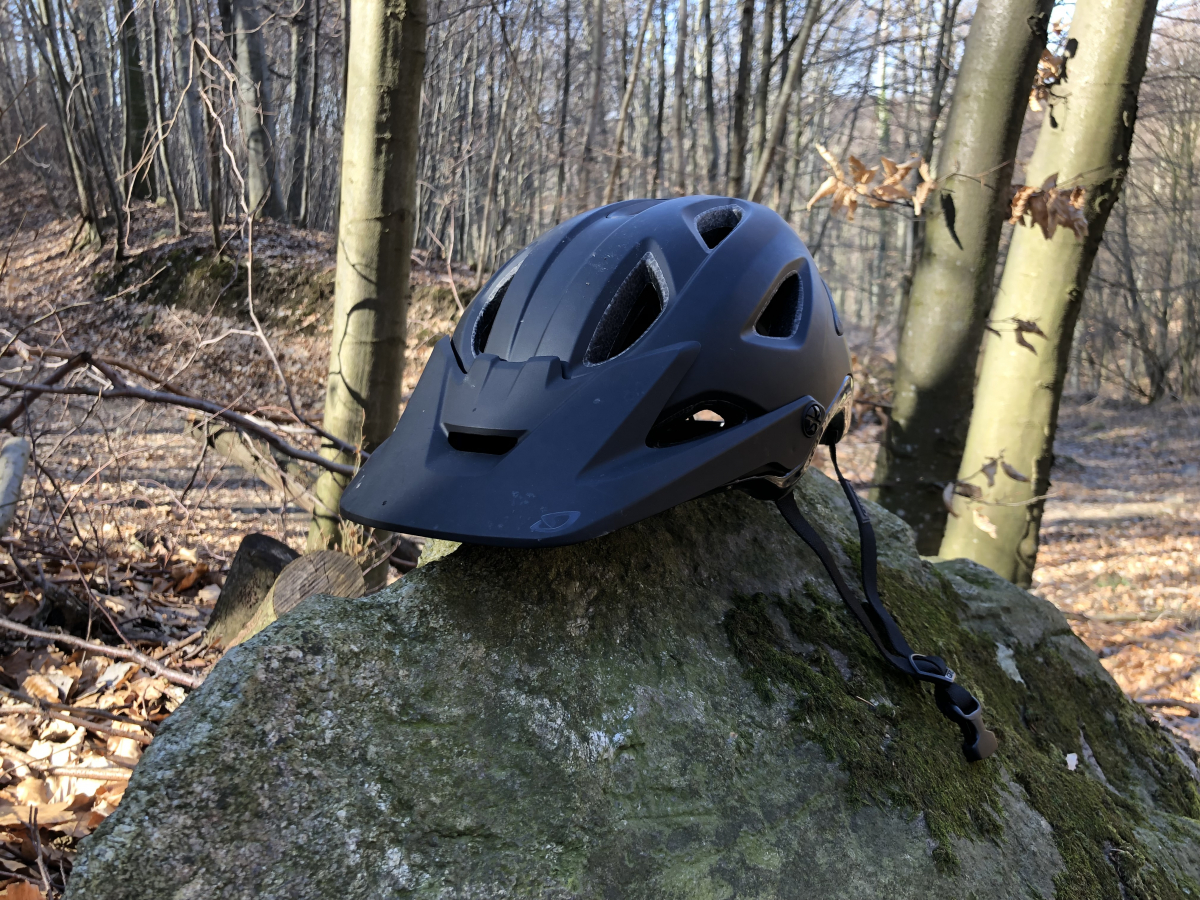
Besides having a bike with sound breaks, it's also a good idea to bring a helmet. Actually, scratch that - it's a must! Never ride without one. Not only because everyone else will laugh at you, but also because it's a smart move.
Other basic protection should include gloves, to protect your palms from falls as well as knee guards. Elbow guards and back protectors are not a must have, but if they make you feel safer, go for it. Also make sure you stay hydrated and have a water bottle, or a hydration pack on you. Last but not least, bring a spare inner tube (or sealant if you are running tubeless) and a mini-tool, just in case something goes wrong.
Learn the trail code of conduct
Trails have a few basic rules, riders should go by to stay out of harms way and to keep from aggravating other riders.
- Trail direction: Trails can be one direction, or both directions. This can be indicated by signs at the trailhead, or apps like TrailForks and MTB Project will show you this information as well.
- Respect closed trails: Trails can be closed and while it might look like not much is going on, they are probably closed for a reason. Danger can be looming at a later section of the trail.
- Help others out: If you find someone that is hurt or needs assistance, always stop and ask them if you can help. If you can't help, find the quickest way to get assistance.
- Be aware of your surroundings: Trails are a for everyone. You will meet more advanced and less advanced riders. Be respectful of both. If someone wants to go faster, let them pass. If someone is slower, don't pressure them and make sure both of you are clear on intentions if you wish to overtake them.
- Respect nature: Don't ride off trails, don't damage trees and wildlife and don't litter.
- Be friendly to others: Riders usually greet each other, when they cross on trails and generally are very friendly. Just be nice to people.
Follow a few simple steps to gain confidence
Going up is usually more about your fitness than it is about technique. Using all your gears will make your climb much more enjoyable. If you hit a steeper climb it's a good idea to lean forward so you keep your center of gravity over the rear wheel to maintain traction.
Going down requires a few more skills. Let's go over them quickly.
Maintain the right posture
Riding down a hill is all about center of gravity. You want to keep it as low as possible. The best way to achieve this is to ride with legs wide like a cowboy (not kidding), push your butt to the back and off the saddle and keep your arms loose and bent to act as an extra shock absorber.
Stay loose while riding
Mountain bikes these days are pretty sophisticated machines that do a great job at going over terrain. The best thing you can do is get out of the way. The best way you can do it is to stay loose on your bike and don't overcorrect the direction.
Look where you want to go
This might sound clear to everyone, but once you are on your bike you will see that you have a tendency to look right at your front wheel. That's a recipe for disaster as you won't have enough time to correct direction. Instead ride with your head straight up and looking far into the distance. Your bike will follow.
Go easy on breaks
Breaks are your friends, but only if you don't over do it. It's best to break sequentially, meaning on and off. This way you minimize the risk of falling over your handlebars and if you have disc breaks it will also make them more effective as they won't overheat.
Maintain momentum
This can be a bit daunting - but going faster makes it easier to go through rougher terrain. Of course, go only as fast as you feel comfortable.
Have fun!
All these tips on finding trails and riding them are nice, but never forget that mountain biking is first and foremost about having fun. You won't be a pro from day one, but I can guarantee you, you will enjoy it!
